Tuesday, June 19, 2012

Lesson Seven and Eight - Rule of Thirds and Photographic Composition


Lesson Seven and Eight – Rule of Thirds and Photographic Composition

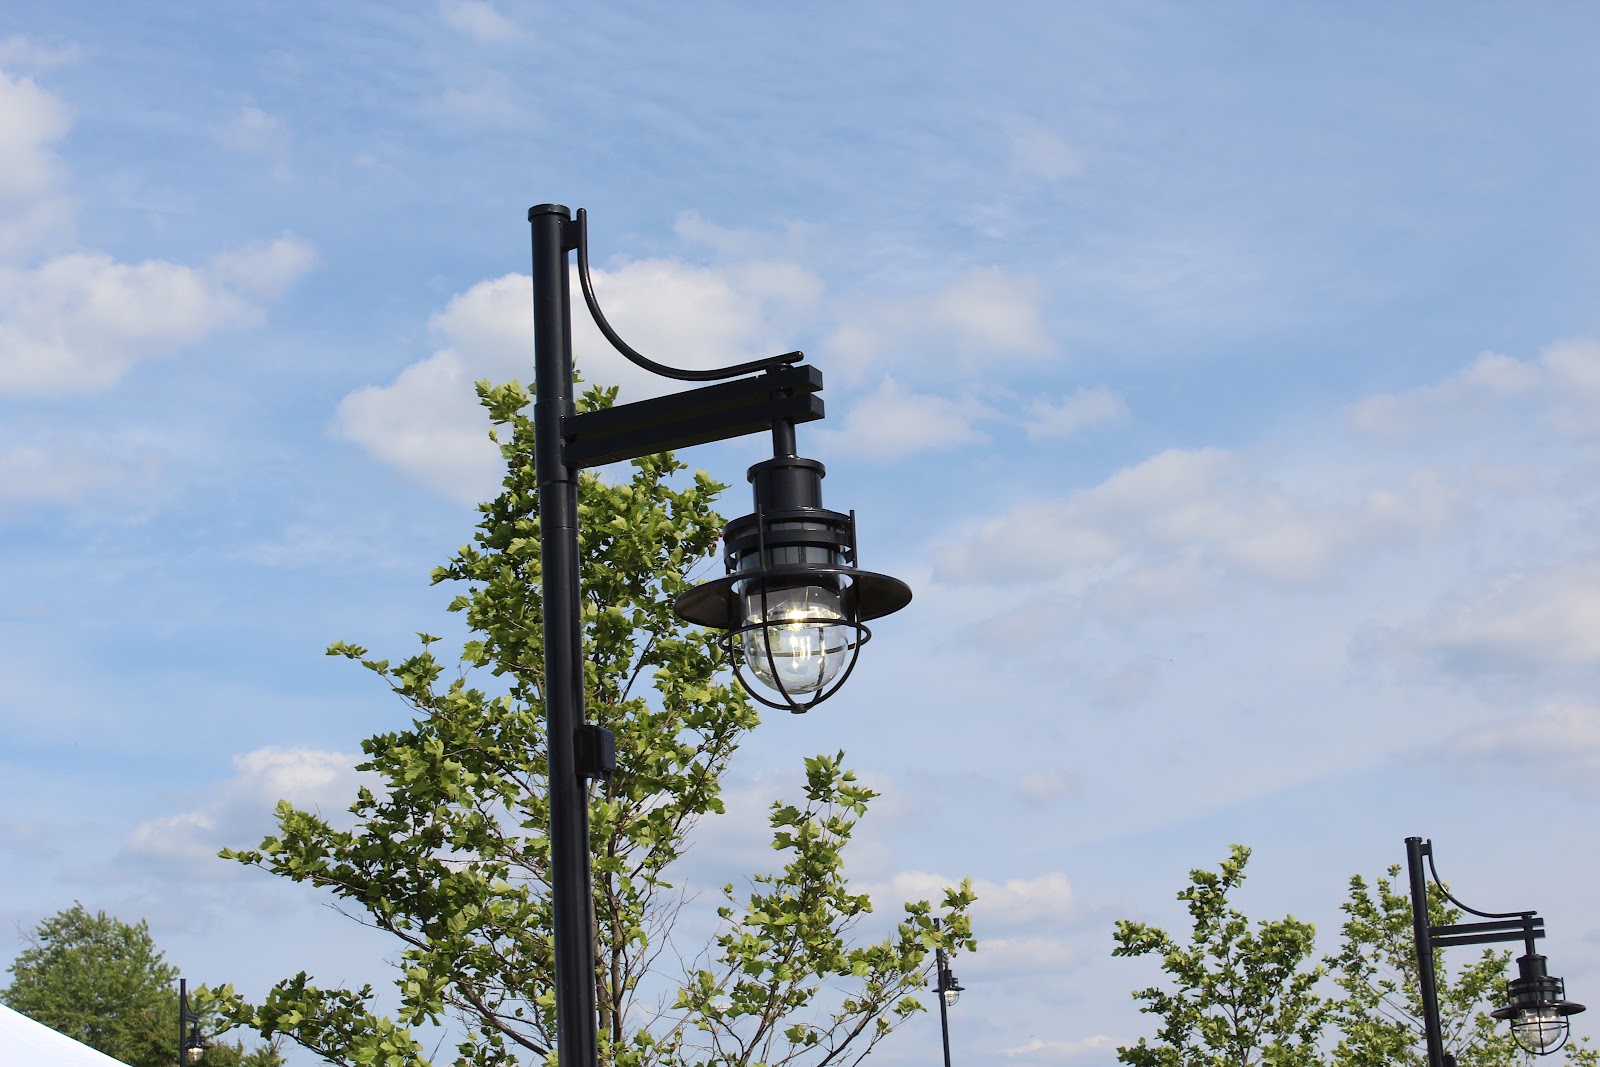
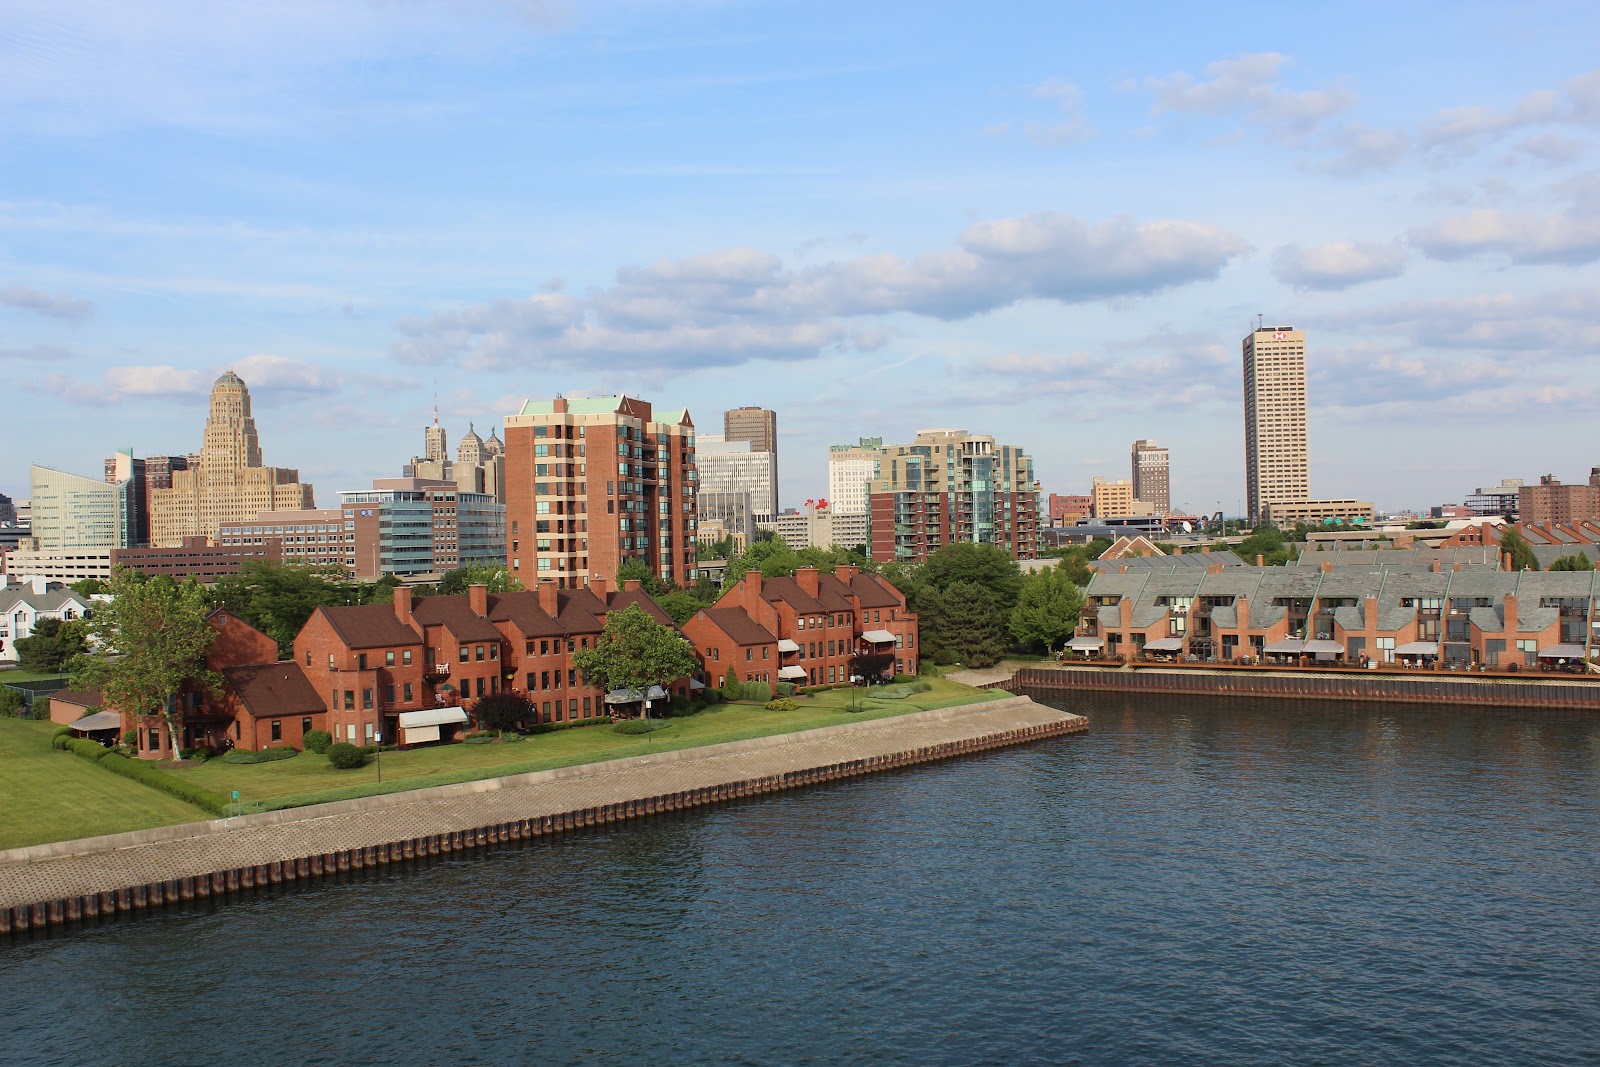
                It is important to understand the rule of thirds.  If you envision your shot  broke up into 9 squares, like a tic tac toe board, you should place the most interesting parts of the shot in the intersecting points or along the four lines.  The theory is that a persons eyes are naturally drawn to these points or lines.  Therefore it is important to put interesting visual images in this location.  Pictures will be interesting to the viewer and well balanced if this rule is followed.  I have used the rule of thirds in order to create good photographic composition in my pictures.  It is also important to remember that sometimes we have to break rules.  Some situations may require a different approach and this is okay.

  I enjoyed setting up pictures to create good photographic composition.  While I was site seeing along the marina in downtown Buffalo, I saw boaters.  I waited for them to drift to the perfect spot in my imaginary grid and then I snapped the shot.  I’m glad I have a better understanding of this rule. 

Rule of Thirds Pictures


Saturday, June 16, 2012

Tuesday, June 12, 2012

Lesson Six: In Camera Flash - my thoughts


In Camera Flash

I remember when I was a child. My uncle would visit and take pictures on his camera with flash cubes. We have come a long way since then, as far as camera technology. 
My camera has a built in flash.  I found that using a flash may not just be an option when the setting is dark.  A flash can also be used in lighter settings.  I used my flash for pictures I took of my son in the park.  It was about 8pm but it was still light.  The sky was cloudy and it was lightly raining.  In some locations the trees caused some shadows or increased darkness.  The flash was helpful in highlighting the subject.  When using the flash, pictures turn out better when you can get close to the subject.  If you can’t get in close, it may be better to use an ISO setting.  Something I haven’t tried but sounds interesting is to diffuse the flash.  If the flash is too much, it might help to diffuse the light a little.  You can buy and use a diffuser made for your camera or you can make one with tape.

Lesson five: White Balance - my thoughts


White Balance

                I enjoyed learning how to use white balance on my camera.  I now understand that white balance is being aware of the light source and setting the camera accordingly in order to show the colors of the scene as accurately as possible.  It is easy to get accurate color when working with natural light, but when the light source is incandescent or fluorescent light bulbs, candle light or even cloudy conditions the colors can be skewed.  My camera has a white balance setting that offers choices such as incandescent light.  Prior to taking this class, my pictures would often have skewed colors such as orange faces.  I didn’t realize that I could do anything to change the results.  I have been practicing using white balance in different lighting conditions.  It is remarkable how different the pictures can appear if you choose the right camera setting. 

Monday, June 11, 2012

Lesson Six: In Camera Flash - pictures

These pictures were taken at 8pm.  The sky was cloudy and it was raining.  I used the built in flash.


The follow pictures are examples of flash on and flash off.


Saturday, June 9, 2012

Lesson Five: White Balance - pictures

 I feel that these pictures are as close to the real colors as possible.  It was an overcast day with some moments of sun.  I mostly used a "cloudy" setting for the white balance.  I also stayed either in TV - for freeze frame or AV - for aperture.


These next pictures show how I tried out different settings to capture the right color.

This is an acurate depiction of the actual colors.  I used a incandescent bulb setting.
This picture colors are too muted.  I used a daylight setting.
This picture captures the actual colors well.  We were in a store lighted by fluorescent bulbs.  I used the fluorescent setting.
For this picture I tried the day light setting. It made the picture look orange.  The fluorescent setting was better.